Turning Your Garage into a Golf Simulator Haven
Imagine stepping into your garage and not just seeing a cluttered space for storage, but a golfer's paradise where you can tee off anytime you desire. Converting your garage into a golf simulator setup opens up a world of possibilities, allowing you to improve your golfing skills, enjoy virtual rounds with friends, and escape to the greens whenever you please. In this blog post, we'll guide you through the process of transforming your garage into an incredible golf simulator haven.
1. Assessing Your Garage Space
Before you begin the transformation, take a close look at your garage's layout and dimensions. Ensure that you have enough space for swinging clubs comfortably without any obstructions. Measure the available area to determine the best placement for your golf simulator setup.
2. Choosing the Right Golf Simulator
Selecting the right golf simulator is crucial to ensure an immersive and realistic experience. Consider the following factors when making your decision:
- Space-Saving Design: Opt for a simulator that doesn't require excessive room, as garage spaces can be limited.
- High-Quality Graphics and Software: Look for simulators with cutting-edge graphics and accurate course renderings to provide a lifelike golfing experience.
- Real-Time Data Analysis: The simulator should offer precise swing data and ball flight information to help you track and improve your performance.
- Affordability: Determine your budget and explore golf simulator options that align with it. There are various models available at different price points.
3. Preparing the Garage Space
Clearing and organizing your garage is the first step in the transformation process:
- De-Clutter: Remove all unnecessary items and store them elsewhere or donate them to free up space.
- Storage Solutions: Invest in storage racks or cabinets to keep essential items neatly organized and out of the way.
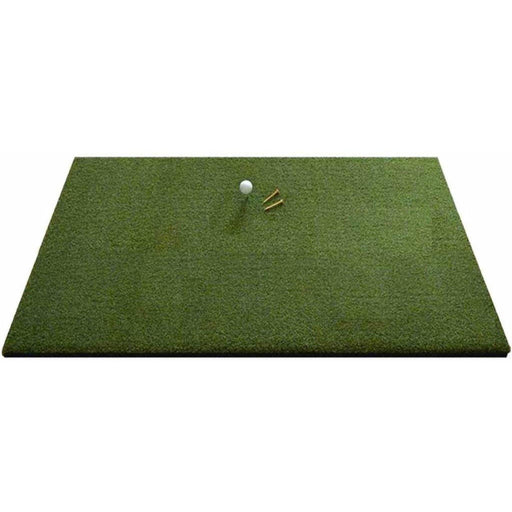
- Flooring: Consider adding artificial turf or golf-specific mats to create a suitable hitting surface. This will protect your golf clubs and ensure a consistent feel during swings.
4. Setting up the Golf Simulator
Now comes the exciting part—setting up your golf simulator:
- Hitting Bay: Designate a hitting bay where you'll place the golf simulator. Ensure it's spacious enough for unrestricted swinging.
- Screen and Enclosure: Install a sturdy impact screen in front of the hitting area. If possible, create an enclosure around the hitting bay to prevent balls from straying and protect the surrounding walls.
- Projector and Mounting: Position the projector to project the golf course visuals onto the screen effectively. Mount it securely to avoid any disturbances during gameplay.
- Golf Net: Set up a golf net behind the hitting area to catch any stray shots, ensuring safety and preventing potential damage to the garage.
- Lighting: Adequate lighting is essential for an optimal experience. Consider adding adjustable lighting to eliminate shadows on the screen and create a comfortable environment.
5. Personalizing Your Golfing Haven
Enhance the ambiance and make your garage golf simulator setup feel like a true golfing getaway:
- Decor: Add golf-themed decor, such as golf flags, posters, and artwork, to infuse the space with the spirit of the game.
- Seating Area: Create a cozy seating area with comfortable chairs or a couch where you can relax between swings or watch others play.
Tee Off at Home
Turning your garage into a golf simulator haven is a fantastic way to take your golfing experience to the next level. Whether you want to work on your swing, challenge friends to virtual rounds, or simply escape to the greens within your own home, this transformation will undoubtedly add joy and convenience to your golfing journey. So, dust off your clubs, clear out your garage, and get ready to tee off right in the comfort of your own home! Happy golfing!

Have Questions About Golf Simulators?
Our expert team is here to help you find the perfect golf simulator for your needs.
Featured products
-
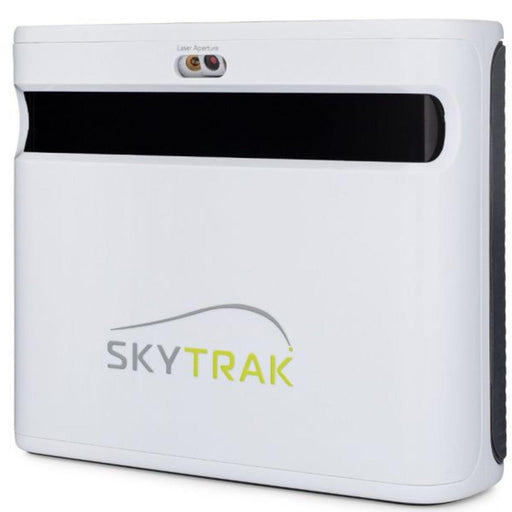
SkyTrak+
Original price $2,995.00 - Original price $3,145.00Original price$2,995.00 - $3,145.00$2,995.00 - $3,145.00Current price $2,995.00Introducing the SkyTrak+ Launch Monitor: Unmatched Accuracy and Advanced Features Experience a new level of precision and innovation with the SkyTr...
View full details -
ProTee Majestic Simulator Package
Original price $9,618.00 - Original price $13,848.00Original price$9,618.00 - $13,848.00$9,618.00 - $13,848.00Current price $9,618.00ProTee Majestic Golf Simulator Package: Elevate Your Indoor Golf Experience Transform your home or business into a golfer’s dream with the ProTee M...
View full details -
Eagle Golf Mat
Original price $370.00 - Original price $1,130.00Original price $370.00$370.00$370.00 - $1,130.00Current price $370.00Introducing the Eagle Golf Mat: The Ultimate Golf Experience Are you passionate about golf and demand nothing but the very best in your practice eq...
View full details -
Retractable HomeCourse® Golf ProScreen 180
Original price $2,299.00Original price $2,299.00 - Original price $2,299.00Original price $2,299.00Current price $1,999.00$1,999.00 - $1,999.00Current price $1,999.00HomeCourse® Golf ProScreen 180 HomeCourse® Golf ProScreen 180 is a retractable golf screen and enclosure. HomeCourse® Golf ProScreen 180's ballisti...
View full details -
The Augusta V2 4'x12' 2 Cups
Original price $399.00Original price $399.00 - Original price $399.00Original price $399.00Current price $329.00$329.00 - $329.00Current price $329.00The Augusta is one of Big Moss’ traditional models. It offers unmatched versatility for teaching and year round practice. Make a long-term investme...
View full details


