Now through January 5th 15% OFF our very popular Vanish and Parlour Enclosures. Coupon code 15SWINGMASS

Golf Simulator Setup and Installation: A Step-by-Step Guide
Golf is a game of precision and accuracy, and there's nothing better than hitting the greens and fairways of your favorite golf course. However, for those who can't always make it out to a golf course, a golf simulator can provide an immersive and convenient experience that replicates the thrill of a real game. In this blog post, we'll provide a step-by-step guide on how to set up and install a golf simulator at home.
Step 1: Determine the Space Requirements
The first step in setting up a golf simulator is determining the space requirements. A simulator typically requires a minimum of 8 feet in height, 10 feet in width, and 15 feet in depth to provide adequate room for a player to swing a club and follow through without any obstructions. However, you can adjust these requirements based on your preferences and available space.
Step 2: Choose the Simulator System
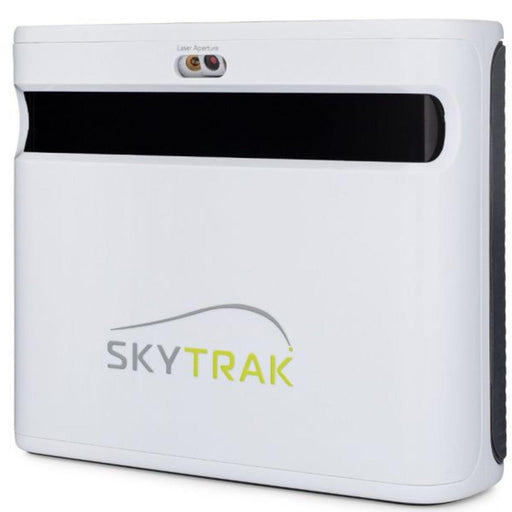
There are several different types of golf simulator systems available on the market. Some of the popular options include OptiShot, SkyTrak, ES Tour, ProTee and Vista. Each system comes with its own set of features, prices, and requirements, so it's important to research and choose the one that best fits your needs and budget.
Step 3: Install the Simulator Components
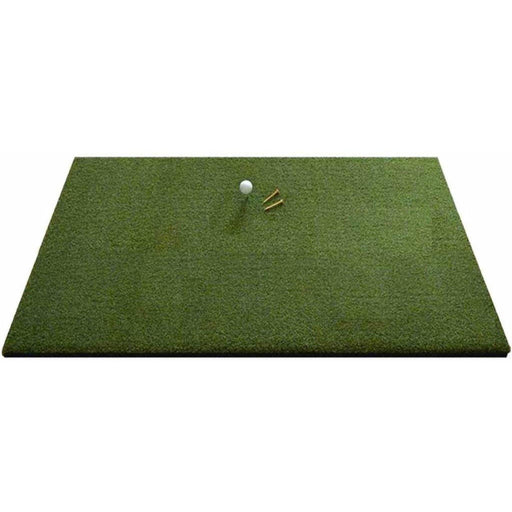
Once you've selected a simulator system, the next step is to install the components. The system typically includes a hitting mat, a projector, a screen or net, and sensors or cameras to track your shots. Most systems also require a computer or tablet to run the software and analyze your swing.
Start by installing the hitting mat, which should be placed on a level surface and securely fastened. Then, install the projector and screen or net, which should be positioned at a suitable distance from the hitting mat to ensure a clear and bright image.
Finally, install the sensors or cameras that will track your shots. Depending on the system, the sensors can be mounted on the ceiling or wall, while the cameras can be placed on tripods or stands or placed on the floor. Follow the manufacturer's instructions carefully to ensure proper installation.
Step 4: Calibrate the System
After installing the components, it's important to calibrate the system to ensure accurate shot tracking and data analysis. Follow the manufacturer's instructions carefully to calibrate the system, which typically involves hitting a few shots to establish a baseline and adjust the settings accordingly.
Step 5: Connect the System and Start Playing
Once the system is calibrated, it's time to connect the components and start playing. Connect the computer or tablet to the simulator system and launch the software. Most systems offer a wide range of golf courses to choose from, including famous and iconic courses from around the world.
With the simulator set up and calibrated, you can now practice your swing and improve your game from the comfort of your own home. Whether you're a seasoned golfer or a beginner, a golf simulator can provide a fun and engaging way to enjoy the game year-round.
Get Ready to Have Fun
In summary, setting up and installing a golf simulator can be a great way to practice and improve your golf game from the comfort of your own home. With careful planning and attention to detail, you can create a fully customized and immersive golfing experience that allows you to play on some of the world's most iconic courses.
Not only does a golf simulator provide a fun and engaging way to enjoy the game year-round, but it can also be a valuable tool for tracking your progress and identifying areas for improvement. Whether you're a seasoned golfer or a beginner, a golf simulator can help you develop and refine your skills, and ultimately become a better player.
So, if you're looking for a convenient and effective way to work on your golf game, consider setting up a golf simulator at home. With a little bit of effort and investment, you can create a world-class golfing experience that will keep you engaged and entertained for years to come.

Have Questions About Golf Simulators?
Our expert team is here to help you find the perfect golf simulator for your needs.
Featured products
-
SkyTrak+
Original price $2,995.00 - Original price $3,145.00Original price$2,995.00 - $3,145.00$2,995.00 - $3,145.00Current price $2,995.00Introducing the SkyTrak+ Launch Monitor: Unmatched Accuracy and Advanced Features Experience a new level of precision and innovation with the SkyTr...
View full details -
ProTee Majestic Simulator Package
Original price $9,618.00 - Original price $13,848.00Original price$9,618.00 - $13,848.00$9,618.00 - $13,848.00Current price $9,618.00ProTee Majestic Golf Simulator Package: Elevate Your Indoor Golf Experience Transform your home or business into a golfer’s dream with the ProTee M...
View full details -
Eagle Golf Mat
Original price $370.00 - Original price $1,130.00Original price $370.00$370.00$370.00 - $1,130.00Current price $370.00Introducing the Eagle Golf Mat: The Ultimate Golf Experience Are you passionate about golf and demand nothing but the very best in your practice eq...
View full details -
Retractable HomeCourse® Golf ProScreen 180
Original price $2,299.00Original price $2,299.00 - Original price $2,299.00Original price $2,299.00Current price $1,999.00$1,999.00 - $1,999.00Current price $1,999.00HomeCourse® Golf ProScreen 180 HomeCourse® Golf ProScreen 180 is a retractable golf screen and enclosure. HomeCourse® Golf ProScreen 180's ballisti...
View full details -
The Augusta V2 4'x12' 2 Cups
Original price $399.00Original price $399.00 - Original price $399.00Original price $399.00Current price $329.00$329.00 - $329.00Current price $329.00The Augusta is one of Big Moss’ traditional models. It offers unmatched versatility for teaching and year round practice. Make a long-term investme...
View full details


