Elevate Your Golf Simulator Experience with a Floor Mount Projector Setup
As the popularity of home golf simulators continues to rise, golf enthusiasts are constantly seeking innovative ways to enhance their setup for a more immersive and realistic experience. One such enhancement gaining traction is the use of a floor mount projector setup. In this blog post, we'll delve into the benefits and considerations of using a floor mount for your projector in your home golf simulator, ensuring not only an elevated experience but also safety and optimal performance.
The Benefits of a Floor Mount Projector Setup:
- Space Efficiency: Floor mount projectors are ideal for compact spaces, as they eliminate the need for ceiling mounts or bulky stands, freeing up valuable overhead space in your simulator room.
- Flexibility: Floor mount setups offer greater flexibility in projector placement, allowing you to easily adjust the height, angle, and position of the projector to achieve the optimal projection alignment and screen size for your simulator setup.
- Stability: Floor mounts provide a stable and secure platform for your projector, minimizing vibration and movement during gameplay for a smoother and more consistent viewing experience.
- Easy Installation: Installing a floor mount projector setup is relatively straightforward and requires minimal tools and equipment, making it accessible to DIY enthusiasts and novice users alike.
- Aesthetic Appeal: Floor mount setups offer a sleek and streamlined appearance, with cables and wires neatly concealed along the floor, enhancing the overall aesthetic of your simulator room.
Considerations When Using a Floor Mount Projector Setup:
- Room Layout: Consider the layout of your simulator room and the location of other equipment, furniture, and obstacles when determining the placement of your floor mount projector to ensure optimal projection alignment, clearance, and safety. Ensure that the golf ball's trajectory does not intersect with the projector's position to avoid potential damage.
- Screen Size and Distance: Calculate the ideal screen size and projection distance based on the dimensions of your simulator room and the specifications of your projector to achieve the desired viewing experience without compromising safety.
- Cable Management: Plan ahead for cable management to ensure a clean and organized setup. Utilize cable covers, raceways, or adhesive clips to route cables along the floor and walls discreetly, ensuring they do not obstruct the golfer's movement or pose a tripping hazard.
- Mounting Surface: Ensure that the floor surface where you plan to install the floor mount is stable, level, and capable of supporting the weight of the projector and mount securely, preventing accidental tipping or displacement during use.
- Ambient Lighting: Consider the ambient lighting conditions in your simulator room and invest in light-blocking curtains or blinds to minimize glare and optimize screen visibility during gameplay. Position the projector between the golfer and the screen to prevent shadows from obstructing the projected image and disrupting gameplay immersion.
Enhance Your Golf Simulator:
A floor mount projector setup offers a practical, space-efficient, and aesthetically pleasing solution for enhancing your home golf simulator experience. By leveraging the benefits of a floor mount, such as space efficiency, flexibility, stability, and ease of installation, you can create an immersive and enjoyable gaming environment that rivals the experience of playing on a real golf course. With careful consideration of safety, optimal positioning, and cable management, a floor mount projector setup ensures not only an elevated gaming experience but also peace of mind and uninterrupted gameplay enjoyment.

Have Questions About Golf Simulators?
Our expert team is here to help you find the perfect golf simulator for your needs.
Featured products
-
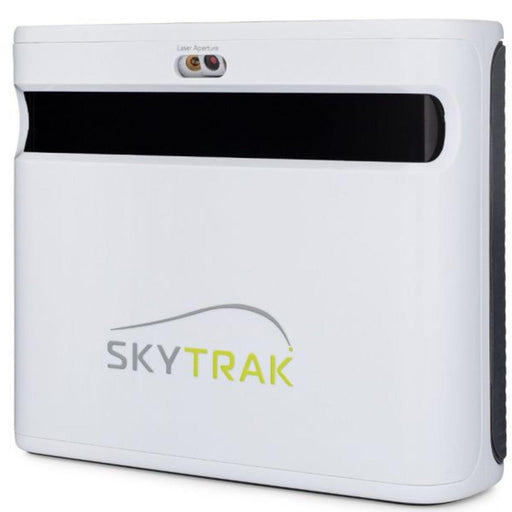
SkyTrak+
Original price $2,995.00 - Original price $3,145.00Original price$2,995.00 - $3,145.00$2,995.00 - $3,145.00Current price $2,995.00Introducing the SkyTrak+ Launch Monitor: Unmatched Accuracy and Advanced Features Experience a new level of precision and innovation with the SkyTr...
View full details -
ProTee Majestic Simulator Package
Original price $9,618.00 - Original price $13,848.00Original price$9,618.00 - $13,848.00$9,618.00 - $13,848.00Current price $9,618.00ProTee Majestic Golf Simulator Package: Elevate Your Indoor Golf Experience Transform your home or business into a golfer’s dream with the ProTee M...
View full details -
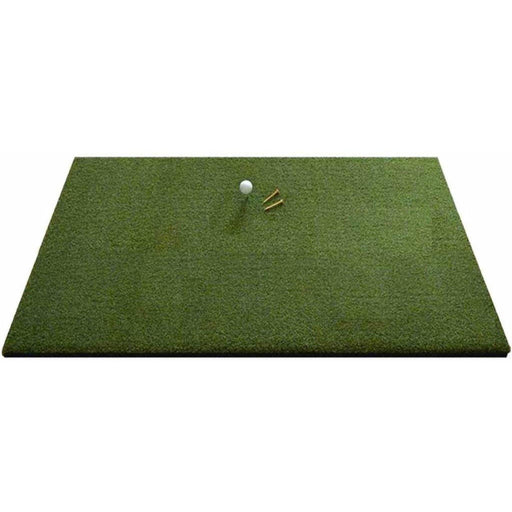
Eagle Golf Mat
Original price $370.00 - Original price $1,130.00Original price $370.00$370.00$370.00 - $1,130.00Current price $370.00Introducing the Eagle Golf Mat: The Ultimate Golf Experience Are you passionate about golf and demand nothing but the very best in your practice eq...
View full details -
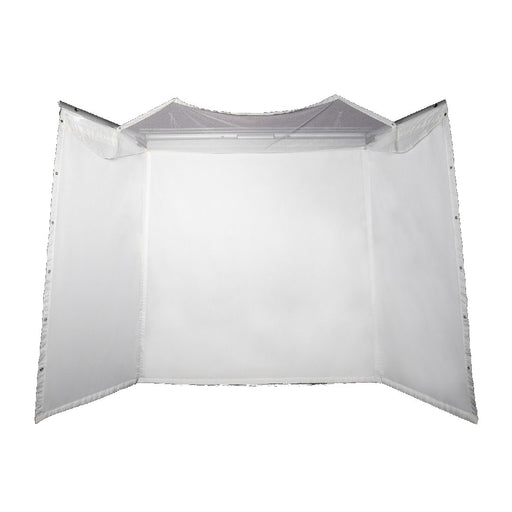
Retractable HomeCourse® Golf ProScreen 180
Original price $2,299.00Original price $2,299.00 - Original price $2,299.00Original price $2,299.00Current price $1,999.00$1,999.00 - $1,999.00Current price $1,999.00HomeCourse® Golf ProScreen 180 HomeCourse® Golf ProScreen 180 is a retractable golf screen and enclosure. HomeCourse® Golf ProScreen 180's ballisti...
View full details -
The Augusta V2 4'x12' 2 Cups
Original price $399.00Original price $399.00 - Original price $399.00Original price $399.00Current price $329.00$329.00 - $329.00Current price $329.00The Augusta is one of Big Moss’ traditional models. It offers unmatched versatility for teaching and year round practice. Make a long-term investme...
View full details


