ProTee VX now in stock!
Also for a limited time, get a FREE Swing Camera set with purchase!

Golf simulators have revolutionized the way golf enthusiasts practice and play the game. From professional golfers honing their skills to amateurs looking to improve their swing, simulator enclosures provide a convenient and immersive experience right in the comfort of your home. In this comprehensive guide, we'll delve into the history of golf simulator enclosures, explore the process of creating your own DIY enclosure, and recommend top-notch products like the Cimarron Impact Projector Screen to elevate your setup.
Golf simulator enclosures have come a long way since their inception. In the early days, simulator setups were bulky and expensive, limited to commercial venues and high-end facilities. However, advancements in technology and the growing demand for home-based solutions have led to the development of more accessible and affordable options for enthusiasts of all levels.
Creating your own golf simulator enclosure allows you to customize your setup to suit your preferences and budget. Here's a step-by-step guide to help you get started:
For those seeking additional guidance or expert advice, Simply Golf Simulators is here to help. Our team of experienced professionals can provide personalized recommendations and assistance to ensure that your DIY enclosure meets your needs and exceeds your expectations. Whether you're a seasoned golfer or just starting out, we're here to support you every step of the way.
Embarking on a DIY golf simulator enclosure project is an exciting opportunity to create a personalized space for practicing and enjoying the game you love. By following these steps and leveraging top-quality products like the Cimarron Impact Projector Screen, you can build a setup that delivers immersive and realistic golfing experiences right in your own home. With expert guidance from Simply Golf Simulators, your dream of owning a custom golf simulator enclosure is closer than ever.

Have Questions About Golf Simulators?
Our expert team is here to help you find the perfect golf simulator for your needs.
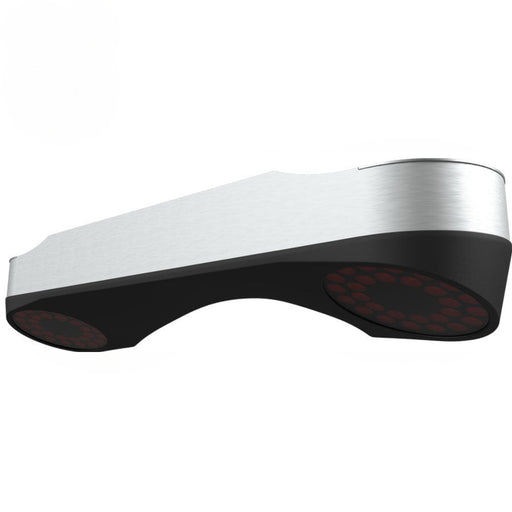
ProTee VX Launch Monitor – Ceiling-Mounted Precision for Serious Golfers The ProTee VX Launch Monitor is the most advanced ceiling-mounted golf lau...
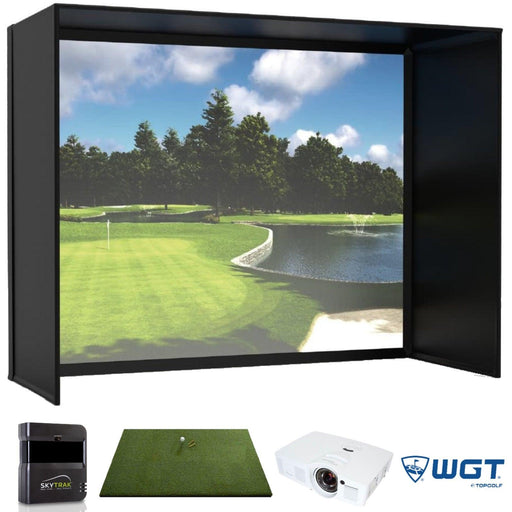
View full detailsSkyTrak Majestic Golf Simulator With an award-winning screen, Golf Digest recommended launch monitor, vivid projection and a commercial quality hit...
View full details
The Ultimate Retractable Golf Enclosure for Authentic Simulator Experiences Overview Introducing the Vanish Series from The SportScreen — the worl...
View full details
Introducing the Eagle Golf Mat: The Ultimate Golf Experience Are you passionate about golf and demand nothing but the very best in your practice eq...
View full details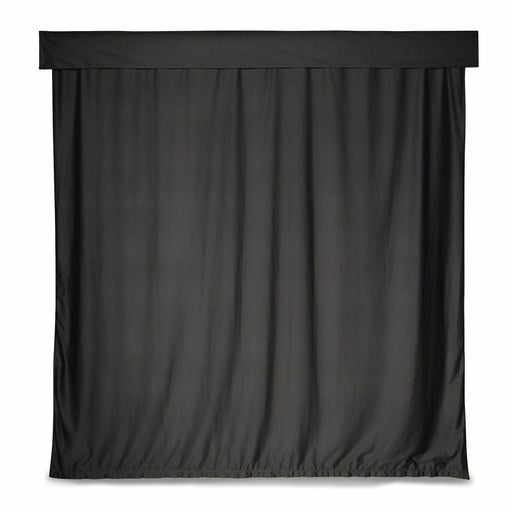
Golf Simulator Curtain – Transform Your Space into a Golf Haven Turn your ordinary space into an extraordinary golf haven with the Golf Simulator C...
View full details{"one"=>"Select 2 or 3 items to compare", "other"=>"{{ count }} of 3 items selected"}