ProTee VX now in stock!
Also for a limited time, get a FREE Swing Camera set with purchase!

Transforming your space into a golf haven is now within reach with the DIY approach to golf simulator enclosures. In this step-by-step guide, we'll walk you through the process of creating your own golf sanctuary, providing the perfect backdrop for immersive and personalized practice sessions. Plus, discover budget-friendly options from Simply Golf Simulators to enhance your DIY project.
In conclusion, building your DIY golf simulator enclosure is a rewarding journey that combines craftsmanship with a love for the game. With careful planning, affordable materials, and the right components, you can create a golfing retreat tailored to your space and preferences. Explore the budget-friendly options at Simply Golf Simulators to put the finishing touches on your project and elevate your home golfing experience. Happy crafting and swinging!

Have Questions About Golf Simulators?
Our expert team is here to help you find the perfect golf simulator for your needs.
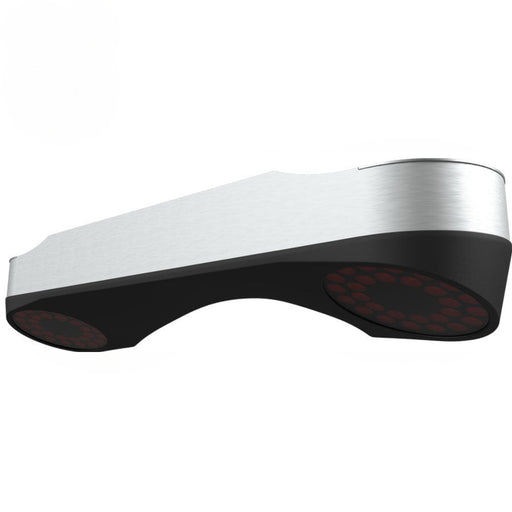
ProTee VX Launch Monitor – Ceiling-Mounted Precision for Serious Golfers The ProTee VX Launch Monitor is the most advanced ceiling-mounted golf lau...
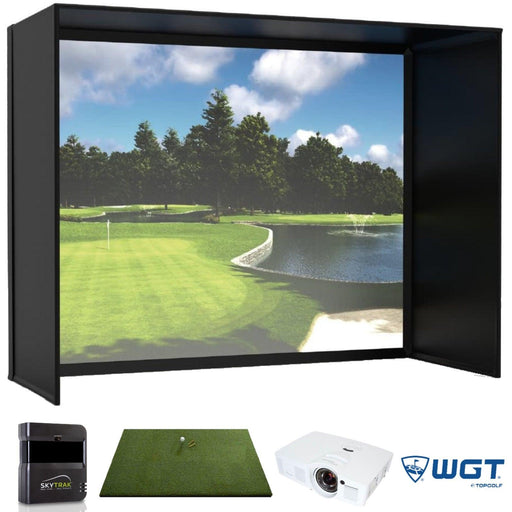
View full detailsSkyTrak Majestic Golf Simulator With an award-winning screen, Golf Digest recommended launch monitor, vivid projection and a commercial quality hit...
View full details
The Ultimate Retractable Golf Enclosure for Authentic Simulator Experiences Overview Introducing the Vanish Series from The SportScreen — the worl...
View full details
Introducing the Eagle Golf Mat: The Ultimate Golf Experience Are you passionate about golf and demand nothing but the very best in your practice eq...
View full details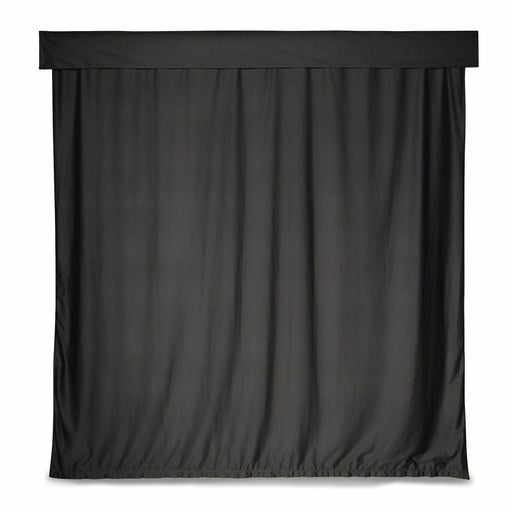
Golf Simulator Curtain – Transform Your Space into a Golf Haven Turn your ordinary space into an extraordinary golf haven with the Golf Simulator C...
View full details{"one"=>"Select 2 or 3 items to compare", "other"=>"{{ count }} of 3 items selected"}